
A beautiful logo can look perfect on a screen, but embroidery tells a different story. Threads behave differently from pixels, and even a small mistake in stitch direction, density, or sequencing can affect the final result.
That is why choosing reliable custom embroidery digitizing services matters. A skilled digitizing provider turns artwork into a structured embroidery file that is designed to stitch cleanly on the intended fabric and machine.
Whether you need a company logo, hat design, jacket artwork, patch, or personalized garment, the right digitizing service can save time, reduce production problems, and deliver more consistent results.
What Are Custom Embroidery Digitizing Services?
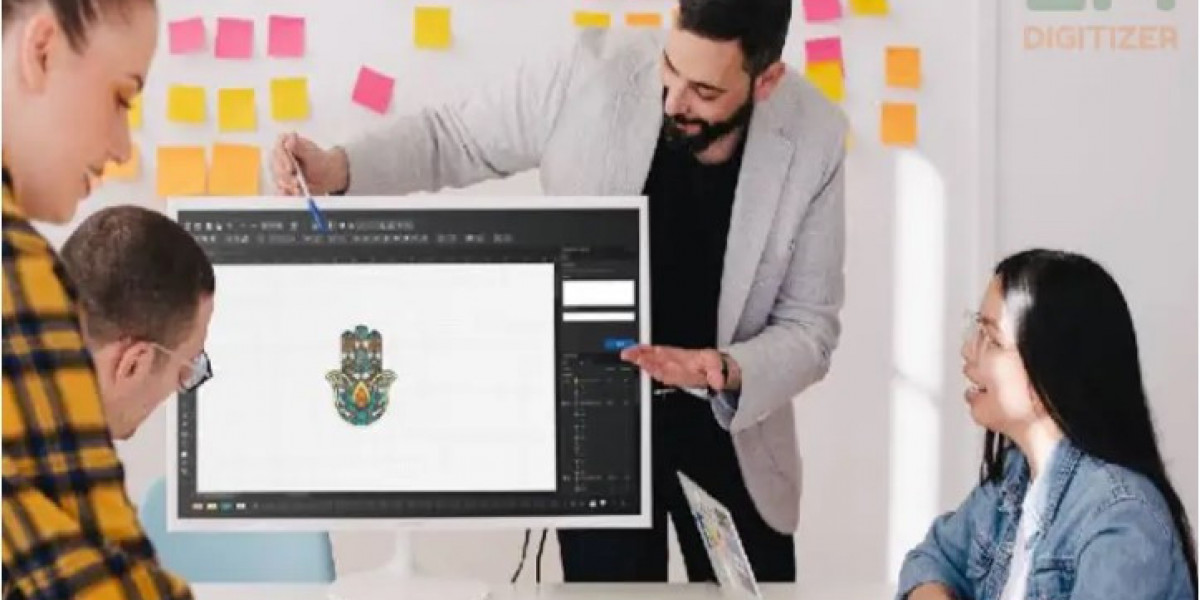
Custom embroidery digitizing is the process of converting artwork into an embroidery machine-readable design.
A digitizer does more than trace an image. They decide how different areas should be stitched and how the design should behave when thread interacts with fabric.
A professional embroidery file may include carefully planned:
- Stitch types
- Stitch directions
- Stitch density
- Underlay
- Pull compensation
- Color changes
- Stitch sequence
- Trims and jumps
- Design dimensions
The final file can then be prepared for the embroidery machine format required for a particular project.
Why Reliability Matters in Embroidery Digitizing
Imagine ordering 100 embroidered shirts and discovering that the lettering is unreadable after stitching. Fixing the problem at that stage can be expensive.
Reliable digitizing helps reduce this type of risk by considering the final application before the file is produced.
A dependable service should focus on both how the design looks digitally and how it will actually stitch.
This distinction is important because a design can look excellent in a software preview but still produce poor embroidery if it has unsuitable stitch settings.
What Makes a Digitizing Service Reliable?
Not every provider approaches embroidery artwork in the same way. When comparing services, look for several important qualities.
1. Attention to Stitch Details
Good digitizing requires careful decisions about stitch structure.
A professional digitizer considers whether an area should use satin, fill, or running stitches and adjusts the settings according to the artwork.
2. Accurate Design Interpretation
The goal isn't always to copy every tiny detail from an image.
Some artwork needs to be simplified because extremely fine details may not translate well into thread. A skilled digitizer knows which features should remain and which may need adjustment.
3. Appropriate Stitch Density
Density should match the design, fabric, and stitch type.
Too many stitches can create bulky embroidery and increase the risk of puckering. Too few may result in weak coverage.
4. Proper Underlay
Underlay provides a foundation beneath visible stitches.
It helps stabilize the design and can improve the appearance of top stitching. The type and amount of underlay should be selected according to the object and fabric.
5. Sensible Stitch Sequencing
The order in which different parts of a design are stitched can affect quality.
Good sequencing can reduce unnecessary jumps and trims while helping different design elements stay aligned.
What Types of Artwork Can Be Digitized?
Custom digitizing can be used for many types of artwork.
Business Logos
Company logos are among the most common embroidery projects. They can be prepared for uniforms, shirts, jackets, workwear, and promotional products.
Hat and Cap Designs
Cap embroidery presents unique challenges because of the curved surface and limited stitching area.
A design intended for a flat garment may need adjustments before it works well on a cap.
Custom Patches
Artwork can be digitized for embroidered patches with appropriate borders, fills, and stitch structures.
Names and Lettering
Names, initials, and text require special attention to size and readability.
Very small letters may need customized digitizing rather than simply being reduced from a larger design.
Detailed Artwork
Illustrations and complex graphics can also be digitized, although some details may need to be simplified for successful stitching.
How the Custom Digitizing Process Works
Understanding the workflow helps you know what to expect when ordering a service.
Step 1: Submit Your Artwork
Start by providing the best version of your artwork.
Common source files include:
- JPG
- PNG
- SVG
- AI
- EPS
A high-quality image generally gives the digitizer more information to work with.
Step 2: Review the Design Requirements
The digitizer needs to know how and where the design will be embroidered.
Important details can include:
- Final design size
- Fabric type
- Garment type
- Machine format
- Number of colors
- Intended placement
For example, a left-chest logo and a large jacket-back design may require different approaches.
Step 3: Create the Stitch Structure
The artwork is converted into embroidery objects.
Each object can be assigned appropriate stitch properties, including direction, density, underlay, and stitch type.
Step 4: Review the Design
The digitized file should be checked for potential issues before production.
This may include reviewing stitch counts, color changes, object overlaps, trims, and design dimensions.
Step 5: Test Stitching
For important or large production jobs, a sample stitch-out is highly valuable.
It shows how the design behaves on actual fabric rather than only in a digital preview.
Step 6: Deliver the Required File
Once the design has been reviewed, the appropriate machine-ready format can be supplied based on the customer's equipment.
Popular Embroidery File Formats
Different embroidery machines and software systems may require different file formats.
Some commonly encountered formats include:
| Format | Common Use |
|---|---|
| DST | Widely used machine embroidery format |
| PES | Commonly associated with compatible embroidery machines |
| JEF | Used by compatible embroidery systems |
| EXP | Used in various embroidery workflows |
| VP3 | Used by compatible embroidery systems |
| HUS | Used by compatible embroidery machines |
| PXF | Editable embroidery design format in supported software |
The correct format depends on the machine and software being used.
Benefits of Using Professional Digitizing Services
Hiring an experienced digitizer can offer several advantages.
Better Stitch Quality
Professional digitizing focuses on how stitches interact with one another and with the fabric.
Fewer Production Problems
A well-prepared file can help reduce issues such as excessive jumps, poor registration, unnecessary density, and unsuitable stitch structures.
Saves Time
Learning embroidery digitizing software takes time. Outsourcing the work lets you focus on production, customers, and other business tasks.
Better Results for Complex Designs
Detailed logos and artwork often require decisions that go beyond basic image tracing.
Consistent Branding
Businesses using embroidered uniforms or merchandise need their logos to look consistent across different products and sizes.
How to Choose Reliable Custom Embroidery Digitizing Services
Before placing an order, ask a few practical questions.
Check the Portfolio
Look for examples that demonstrate different design types, sizes, and levels of complexity.
Pay attention to lettering, curves, borders, and filled areas rather than simply choosing the most colorful sample.
Ask About Revisions
Find out whether revisions are included if the design requires adjustments after review or testing.
Confirm File Formats
Make sure the provider can deliver the format required by your embroidery machine or workflow.
Ask About Turnaround Time
If you have a production deadline, confirm the expected delivery time before placing your order.
Consider Quality Over Price Alone
The cheapest digitizing file isn't always the most economical choice.
A poorly prepared design can cause thread breaks, fabric damage, wasted garments, and production delays.
What Should You Send to a Digitizer?
To make the process easier, provide as much useful information as possible.
Ideally, send:
- Your highest-quality artwork.
- The required embroidery size.
- The fabric or garment type.
- The desired thread colors.
- The machine format.
- The embroidery placement.
- Any important design instructions.
For example, telling the digitizer that a logo will be stitched on a stretchy polo shirt provides useful information that may influence the digitizing approach.
Common Mistakes to Avoid
Even a good digitizing service needs accurate project information.
Avoid these common mistakes:
- Sending a blurry or extremely small image
- Not providing the final design dimensions
- Ignoring the fabric type
- Assuming one file works perfectly at every size
- Skipping a sample stitch-out
- Choosing a provider based only on the lowest price
- Expecting tiny artwork details to stitch exactly like printed graphics
Clear communication at the beginning can prevent many problems later.
How Much Does Custom Embroidery Digitizing Cost?
Pricing varies depending on the complexity of the artwork and the work required.
Factors that can affect the cost include:
- Number of stitches
- Design dimensions
- Number of colors
- Level of detail
- Small lettering
- Required file formats
- Number of revisions
- Special applications such as caps or patches
A simple logo usually requires less work than a detailed illustration with many objects and color changes.
When Do You Need Re-Digitizing?
Sometimes an existing embroidery file isn't suitable for a new application.
You may need a new version when:
- The design size changes significantly.
- The artwork will be placed on a different fabric.
- A flat design is being adapted for a cap.
- Small text needs to become larger or smaller.
- The stitch count is unnecessarily high.
- The existing file produces poor stitch-outs.
Rather than forcing one file to work everywhere, creating application-specific versions can often produce better results.
Tips for Getting the Best Embroidery Results
Even with reliable custom embroidery digitizing services, your production setup matters.
For better results:
- Use suitable embroidery thread.
- Select the right needle.
- Match stabilizer to the fabric.
- Hoop the material correctly.
- Check thread tension.
- Use the appropriate machine settings.
- Test important designs before bulk production.
- Keep your original artwork and embroidery files organized.
Digitizing and machine setup work together. A great embroidery file still needs suitable production conditions.
Frequently Asked Questions
What are reliable custom embroidery digitizing services?
They are professional services that convert artwork into properly structured embroidery designs while considering stitch types, density, underlay, sequencing, fabric, size, and machine requirements.
How long does custom embroidery digitizing take?
Turnaround depends on design complexity, size, stitch count, and the provider's workload. Simple logos generally take less time than detailed artwork.
Can any image be turned into an embroidery file?
Most artwork can be adapted for embroidery, but highly detailed images may need simplification. Small text and extremely fine details can be particularly challenging.
Do I need a different embroidery file for different sizes?
Not always, but significant size changes can affect stitch quality. For the best results, important designs may need size-specific digitizing.
Is professional digitizing worth it?
For commercial embroidery, complex artwork, or repeated production, professional digitizing can save time and reduce costly stitching problems.
Conclusion
Choosing reliable custom embroidery digitizing services is about more than getting an embroidery file delivered to your inbox. The real value comes from receiving a design that has been thoughtfully prepared for actual stitching.
A good digitizer considers artwork, fabric, size, stitch density, underlay, stitch direction, sequencing, and machine requirements. These details can make the difference between embroidery that looks clean and embroidery that creates production headaches.
Before choosing a provider, review their work, confirm file formats, discuss your project requirements, and ask about revisions and testing. With the right preparation, your artwork can become embroidery that looks professional, consistent, and ready for production.