
Introduction
A great embroidered logo starts with a well-made embroidery file. Even the best embroidery machine cannot produce clean stitching without the right stitch data. Every logo must be carefully prepared before the machine begins sewing. Good digitizing helps create smooth stitches, clear details, and long-lasting embroidery on many types of fabric.
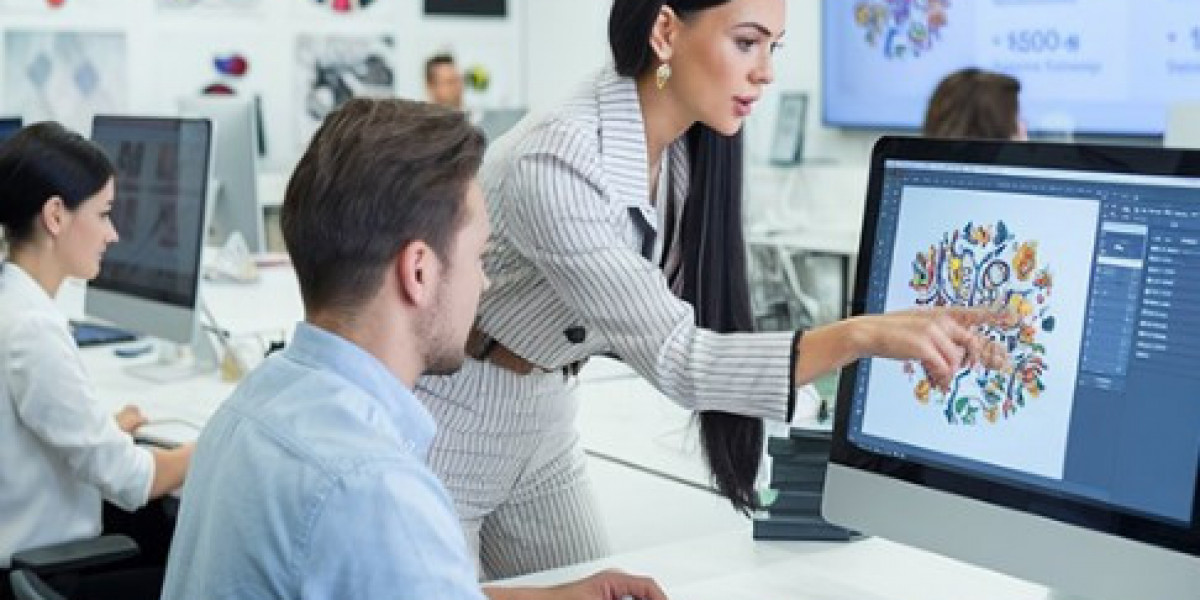
An Embroidery Logo Digitizing Guide helps you understand how artwork becomes a machine-ready embroidery file. Professional digitizers carefully plan every stitch before embroidery begins. They adjust stitch density, underlay, stitch direction, pull compensation, and stitch order to match the logo and fabric. This careful work helps reduce thread breaks, fabric puckering, gaps, and uneven stitching while creating professional embroidery results.
What Is Embroidery Logo Digitizing?
Embroidery logo digitizing is the process of turning artwork into stitch instructions.
An embroidery machine cannot read a JPG, PNG, or PDF file.
It only understands embroidery stitch data.
A digitizer creates a special embroidery file that tells the machine:
Where each stitch starts
Where each stitch ends
Which stitch type to use
The stitching order
Thread color changes
Without proper digitizing, the machine cannot sew the logo correctly.
Why Good Digitizing Matters
Many people think embroidery is only about the machine.
In reality, the embroidery file is just as important.
A professionally digitized logo helps create:
Clean stitching
Sharp details
Better durability
Faster production
Fewer machine stops
Good digitizing saves both time and materials.
How Logo Digitizing Works
Professional digitizing follows several careful steps.
Review the Logo
The first step is checking the artwork.
The digitizer studies:
Logo size
Fine details
Small lettering
Shapes
Colors
Clear artwork always produces better embroidery.
Plan the Stitch Layout
The digitizer decides:
Stitch types
Stitch direction
Stitch order
Underlay
Density
Each setting affects the finished design.
Create the Embroidery File
The logo is recreated with embroidery stitches.
The finished file is saved in the format needed for the embroidery machine.
Test the Design
A sample stitch-out is completed whenever possible.
Testing helps identify:
Thread breaks
Gaps
Registration problems
Density issues
Small adjustments improve the final result.
Understanding Stitch Types
Every logo uses different stitch styles.
Satin Stitch
Satin stitches work well for:
Lettering
Borders
Small logos
They create a smooth and shiny finish.
Fill Stitch
Fill stitches cover larger areas.
They create even coverage while keeping the design balanced.
Running Stitch
Running stitches are useful for:
Thin outlines
Fine details
Decorative lines
Choosing the correct stitch type improves embroidery quality.
Why Underlay Is Important
Underlay is the hidden stitching beneath the top stitches.
It creates a stable base.
Good underlay helps:
Prevent puckering
Support the fabric
Improve stitch quality
Increase durability
Without underlay, embroidery may shift during stitching.
Stitch Density Makes a Difference
Stitch density controls how closely stitches are placed together.
Too many stitches can make fabric stiff.
Too few stitches leave empty spaces.
Professional digitizers adjust density based on:
Fabric Type
Different fabrics require different settings.
Logo Size
Small and large logos need different stitch density.
Balanced density creates smoother embroidery.
Stitch Direction Improves the Look
The direction of stitches changes how the embroidery appears.
Good stitch direction helps:
Add texture
Improve detail
Reduce distortion
Create a natural finish
It also improves machine performance.
Every Fabric Needs Different Settings
Every fabric reacts differently during embroidery.
Cotton, denim, fleece, polyester, and canvas all need different stitch settings.
Professional digitizers adjust the embroidery file to match the material.
This helps produce cleaner embroidery.
Common Problems Good Digitizing Prevents
A properly digitized logo helps avoid many embroidery problems.
Thread Breaks
Smooth stitch paths reduce machine stops.
Fabric Puckering
Balanced density and proper underlay keep fabric flat.
Uneven Stitching
Correct stitch direction creates even coverage.
Lost Details
Professional digitizing keeps small text and fine artwork clear.
Benefits of Professional Logo Digitizing
Professional digitizing provides many advantages.
Better Stitch Quality
Every stitch is carefully planned.
Faster Production
Machine-ready files reduce setup time.
Less Material Waste
Accurate files reduce costly mistakes.
Better Machine Performance
Well-made embroidery files help machines stitch smoothly.
Consistent Results
Repeat orders produce the same professional embroidery every time.
Many embroidery businesses trust Digitizing Buddy because experienced digitizers create machine-ready embroidery files that deliver clean stitching, reliable machine performance, and consistent quality.
Tips for Better Embroidery Results
Following a few simple tips can improve every embroidery project.
Use High-Quality Artwork
Clear artwork creates better embroidery.
Choose the Right Stabilizer
A stabilizer keeps the fabric steady during stitching.
Use Quality Thread
Strong thread creates cleaner embroidery.
Test Every Design
Always complete a sample stitch before full production.
Maintain Your Machine
Regular cleaning helps your embroidery machine perform better.
How to Choose a Professional Digitizing Service
Not every digitizing company offers the same quality.
Look for a service that provides:
Manual Digitizing
Manual work creates better embroidery than automatic software.
Experienced Digitizers
Experienced professionals understand stitch behavior on different fabrics.
Fast Turnaround
Quick delivery helps meet production deadlines.
Quality Testing
Testing reduces embroidery problems before production.
Multiple File Formats
Professional companies support many embroidery machine formats.
Helpful Customer Service
Good communication makes every project easier.
Whether you need embroidery for company logos, uniforms, hats, jackets, patches, promotional products, sportswear, or custom apparel, Digitizing Buddy provides professionally digitized embroidery files that improve stitch quality, reduce production errors, and deliver dependable machine performance.
Frequently Asked Questions
Can I Convert an Image Directly into an Embroidery File?
No.
The image must first be professionally digitized into embroidery stitches.
Is Manual Digitizing Better Than Automatic Conversion?
Yes.
Manual digitizing allows every stitch to be adjusted for better embroidery quality.
Can One Embroidery File Work on Every Fabric?
Not always.
Different fabrics often require different stitch settings.
Why Is Testing So Important?
Testing helps identify small problems before production begins.
This saves time, thread, and materials.
Conclusion
Professional logo digitizing is the foundation of high-quality embroidery. A carefully prepared embroidery file gives the machine accurate stitch instructions for smooth, clean, and durable stitching. Skilled digitizers carefully adjust stitch density, underlay, stitch direction, and pull compensation to match both the logo and the fabric. This process reduces thread breaks, prevents puckering, improves machine performance, and creates consistent embroidery results. By using clear artwork, testing every design, and working with experienced digitizers, businesses and hobbyists can enjoy beautiful embroidery that looks professional and lasts for years. Investing in quality logo digitizing is one of the smartest ways to improve embroidery quality and achieve dependable results on every project.